이번에는 실제 사이트에서 json 데이터를 가져오는 방법에 대해서 알아보도록 하겠습니다.
개발환경 : 윈도우11, 안드로이드 스튜디오(Arctic Fox 2020.3.1 Patch 4), flutter 2.8.1
소스코드 위치 - Release openweathermap · mike-bskim/weather · GitHub
Release openweathermap · mike-bskim/weather
github.com
파일구조를 변경하였습니다. 아래와 같습니다.

loading.dart 수정
import 'package:flutter/material.dart';
import 'package:weather/data/my_location.dart';
import 'package:weather/data/network.dart';
import 'package:weather/screens/weather_screen.dart';

// 키값은 회원가입후 무료로 1천건까지 조회가능한 키를 받을수 있어요.
const apiKey = '1e1a2b8f6d9b5311cd82d001e7b20131';

class Loading extends StatefulWidget {
  const Loading({Key? key}) : super(key: key);

  @override
  _LoadingState createState() => _LoadingState();
}

class _LoadingState extends State<Loading> {
  late double latitude;
  late double longitude;

  @override
  void initState() {
    super.initState();
    getLocation();
  }

  void getLocation() async {
    // 위도/경도 정보 가져오기
    MyLocation myLocation = MyLocation();
    await myLocation.getMyCurrentLocation();
    latitude = myLocation.latitude;
    longitude = myLocation.longitude;
    debugPrint('loading.dart >> ' + latitude.toString() +' / ' +longitude.toString());

// 현재 에뮬은 밀라노로 설정이 되어 있습니다.
//https://api.openweathermap.org/data/2.5/weather?lat=45.4642033&lon=9.1899817&appid=1e1a2b8f6d9b5311cd82d001e7b20131&units=metric

    // 해당 위도/경도의 날씨 정보 가져오기
    String baseApi = 'https://api.openweathermap.org/data/2.5/weather';
    Network network = Network(
        '$baseApi?lat=${latitude.toString()}&lon=${longitude.toString()}&appid=$apiKey&units=metric');
    var weatherData = await network.getJsonData();
    debugPrint(weatherData.toString());

    Navigator.push(
        context,
        MaterialPageRoute(
            builder: (context) => WeatherScreen(weatherData: weatherData)));
  }

  @override
  Widget build(BuildContext context) {
    return Scaffold(
      body: Center(
        child: ElevatedButton(
          onPressed: () {
            debugPrint('ElevatedButton clicked~~');
          },
          child: const Text(
            'Get my location',
            style: TextStyle(color: Colors.white),
          ),
        ),
      ),
    );
  }
}
데이터 이해를 돕기 위해서 조립한 api 를 크롬에서 실행하면 아래와 같은 정보를 볼수 있다.
api 샘플 - [https://api.openweathermap.org/data/2.5/weather?lat=45.4642033&lon=9.1899817&appid=1e1a2b8f6d9b5311cd82d001e7b20131&units=metric]
결과는 아래와 같다. 다양한 api 들이 있어서 다양한 기간별/시간별 정보도 제공이 가능하다
{
  coord: {lon: 9.19, lat: 45.4642},
  weather: [{id: 802, main: Clouds, description: scattered clouds, icon: 03d}],
  base: stations,
  main: {temp: 18.11, feels_like: 17.28, temp_min: 16.83,
         temp_max: 20.38, pressure: 1022, humidity: 50},
  visibility: 10000,
  wind: {speed: 3.09, deg: 100},
  clouds: {all: 40},
  dt: 1651138688,
  sys: {type: 2, id: 2012644, country: IT, sunrise: 1651119376, sunset: 1651170299},
  timezone: 7200,
  id: 3173435,
  name: Milan,
  cod: 200
}
제가 사용한 api 는 [https://openweathermap.org/current] 입니다.

my_location.dart - 이전 loading.dart 의 일부를 분리
import 'package:flutter/material.dart';
import 'package:geolocator/geolocator.dart';

class MyLocation {
  late double latitude;
  late double longitude;

  Future<void> getMyCurrentLocation() async {
    try {
      LocationPermission permission = await Geolocator.requestPermission();
      Position position = await Geolocator.getCurrentPosition(
          desiredAccuracy: LocationAccuracy.high);
      latitude = position.latitude;
      longitude = position.longitude;
    } catch (e) {
      debugPrint('internet connection Error');
    }
  }
}
network.dart - 이전 loading.dart 의 일부를 분리
import 'package:http/http.dart' as http;
import 'dart:convert';

class Network {
  final String url;

  Network(this.url);

  Future<dynamic> getJsonData() async {
    http.Response response = await http
        .get(Uri.parse(url));

    if (response.statusCode == 200) {
      String jsonData = response.body;
      var parsingData = jsonDecode(jsonData);
      return parsingData;
    }
  }
}
weather_screen.dart
intl: ^0.17.0
import 'package:flutter/material.dart';
import 'package:intl/intl.dart';

class WeatherScreen extends StatefulWidget {
  final dynamic weatherData;

  const WeatherScreen({Key? key, required this.weatherData}) : super(key: key);

  @override
  State<WeatherScreen> createState() => _WeatherScreenState();
}

class _WeatherScreenState extends State<WeatherScreen> {
  late String cityName;
  late int temp;
  late String currentDate;

  @override
  void initState() {
    // TODO: implement initState
    super.initState();
    updateData(widget.weatherData);
  }

  void updateData(dynamic weatherData) {
    var dt = weatherData['dt'];
    var timezone = weatherData['timezone'];
    var tempTime = DateTime.fromMillisecondsSinceEpoch((dt+timezone) * 1000);

    cityName = weatherData['name'];
    temp = weatherData['main']['temp'].round();
    currentDate = DateFormat('yyyy-MM-dd, HH:mm:ss').format(tempTime);
    debugPrint('cityName[$cityName], temp[${weatherData['main']['temp'].toString()}]');
    debugPrint('dt[$dt], timezone[$timezone], Date[$currentDate]');
  }

  @override
  Widget build(BuildContext context) {

    return Scaffold(
      body: SafeArea(
        child: Center(
          child: Column(
            mainAxisAlignment: MainAxisAlignment.center,
            children: [
              Text(cityName, style: const TextStyle(fontSize: 30)),
              const SizedBox(height: 40),
              Text(currentDate, style: const TextStyle(fontSize: 30)),
              const SizedBox(height: 40),
              Text(temp.toString(), style: const TextStyle(fontSize: 30)),
            ],
          ),
        ),
      ),
    );
  }
}
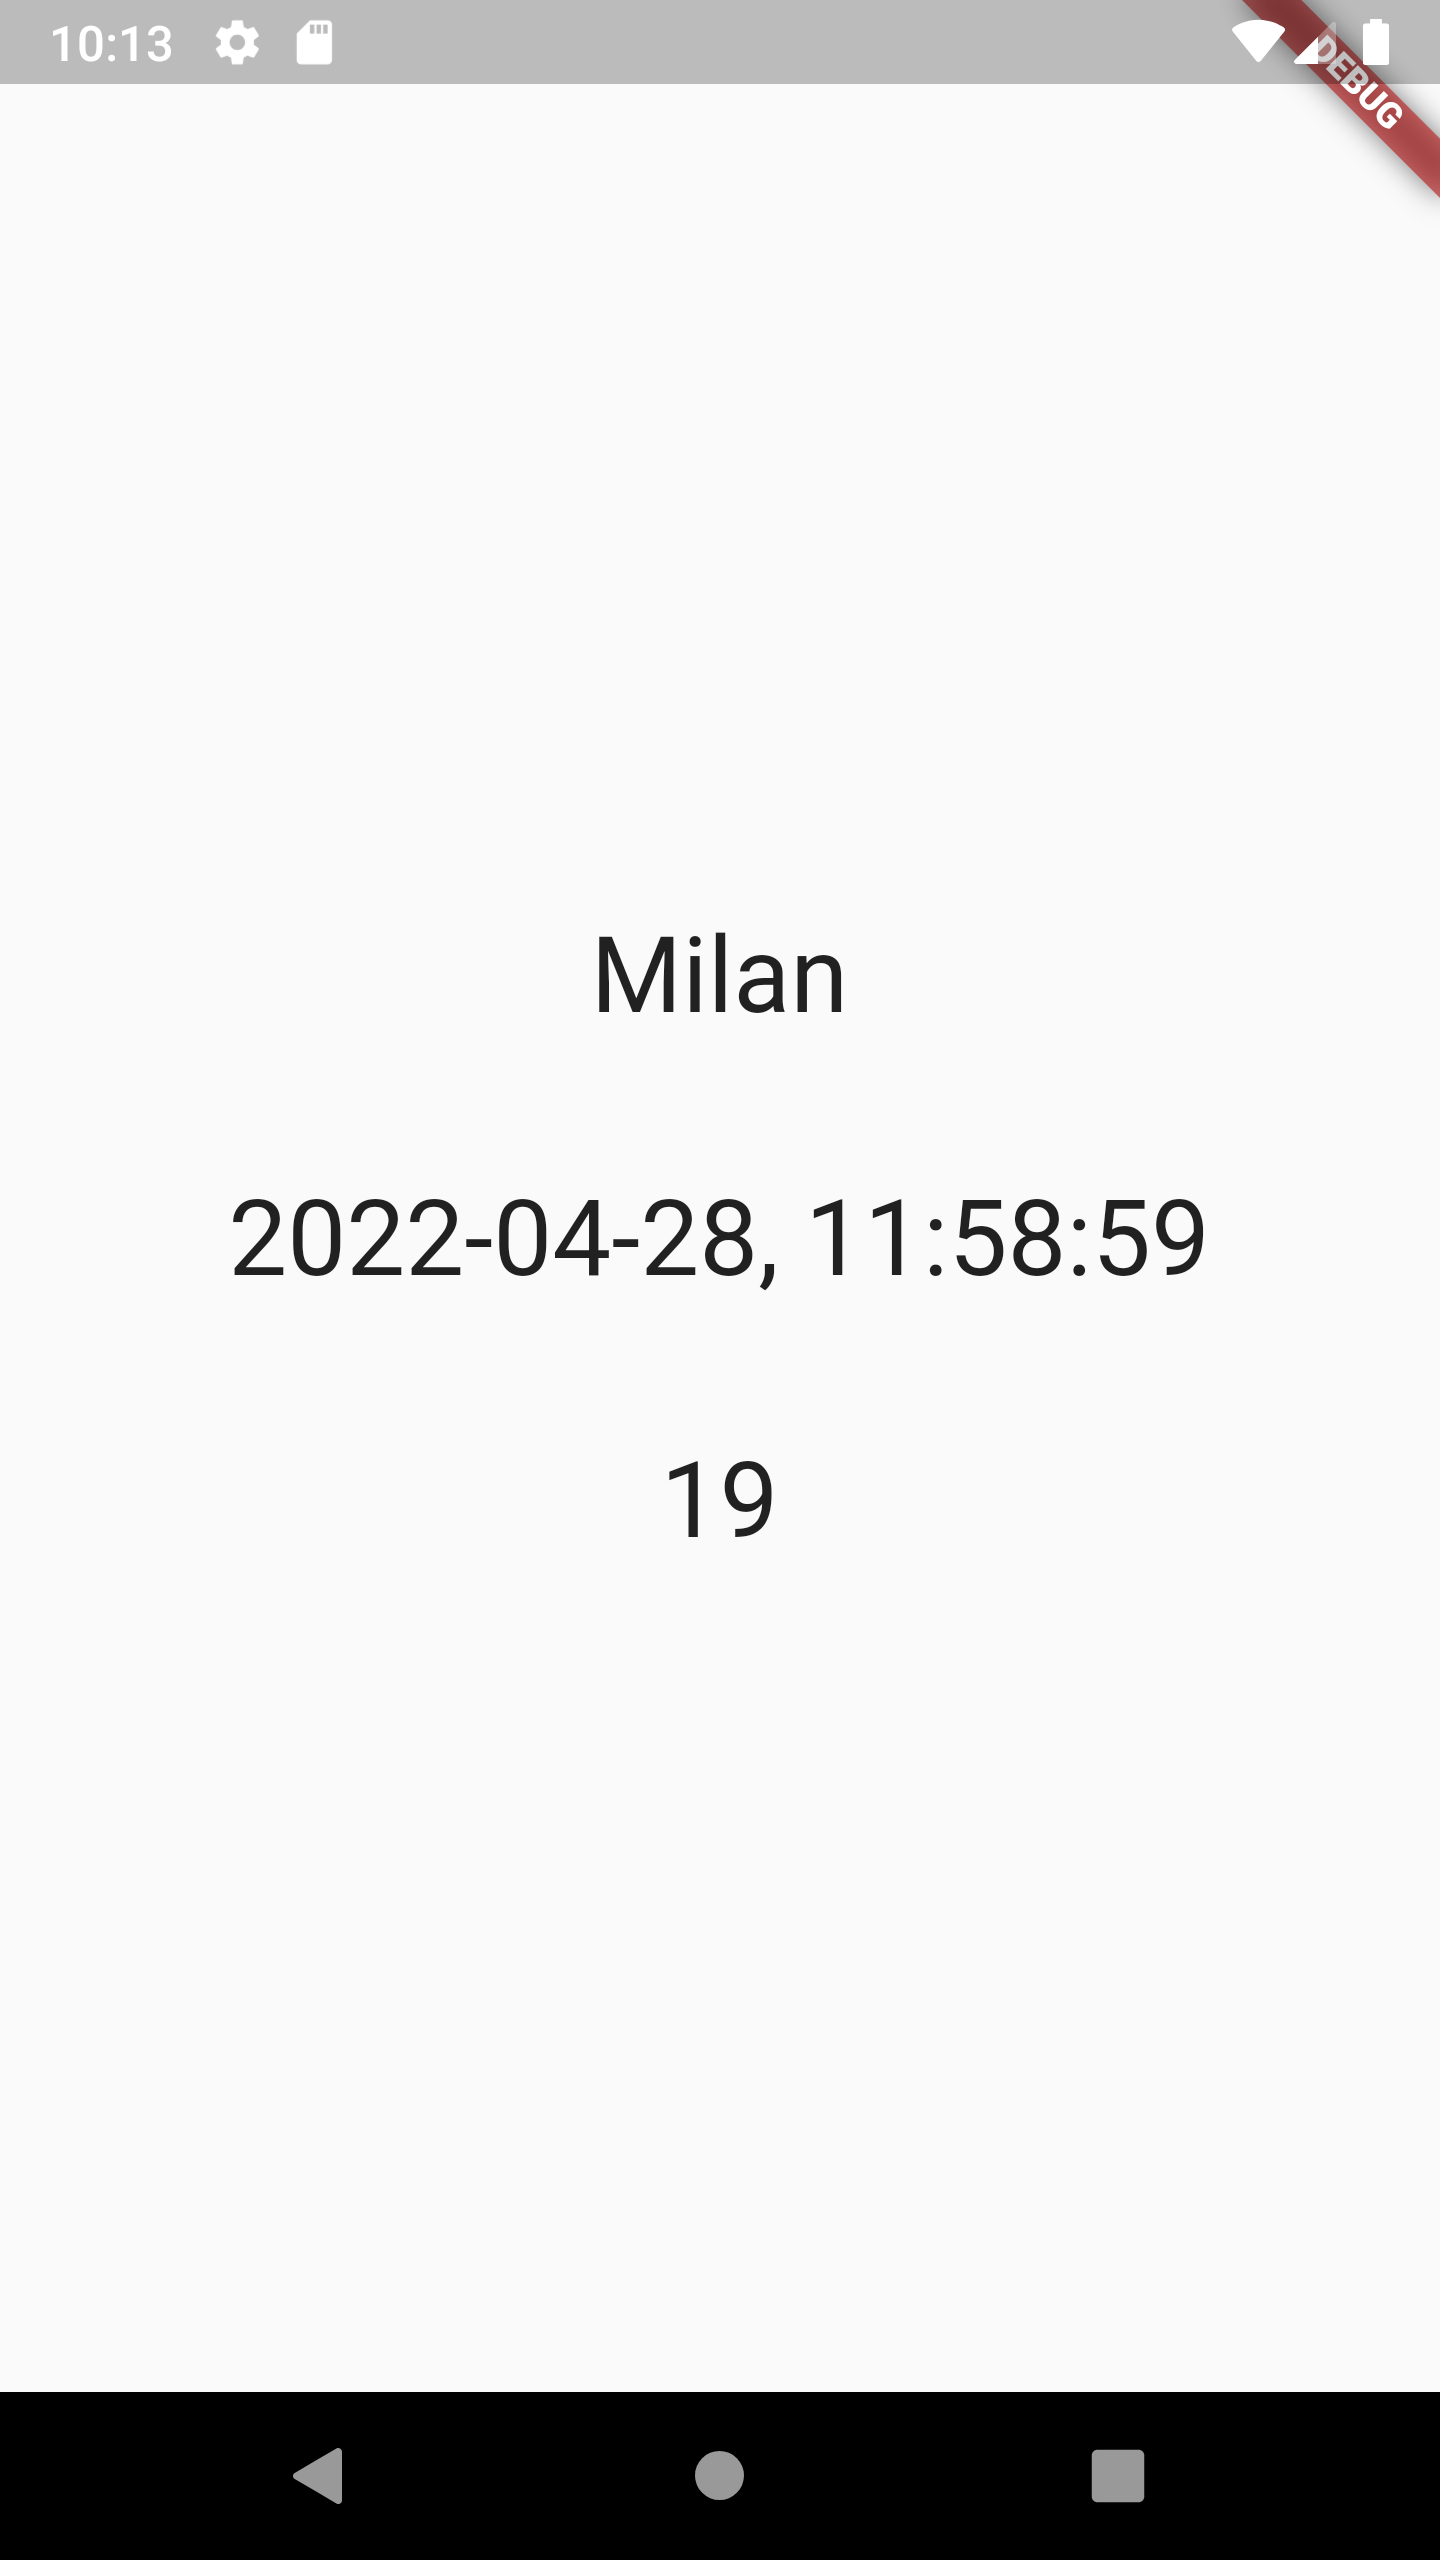
간단한 화면 출력 결과(지역명, 온도 측정시간, 온도)
[참고자료] 코딩셰프
- https://www.youtube.com/watch?v=c1PNEa_eiIM&list=PLQt_pzi-LLfoOpp3b-pnnLXgYpiFEftLB&index=15
'Flutter > 10 app Weather' 카테고리의 다른 글
| [Flutter] App Weather - 5단계 추가 데이터 & 모델링 (0) | 2022.04.29 |
|---|---|
| [Flutter] App Weather - 4단계 UI (0) | 2022.04.29 |
| [Flutter] App Weather - 3.5단계 model of openweathermap (0) | 2022.04.28 |
| [Flutter] App Weather - 2단계 http & json (0) | 2022.04.27 |
| [Flutter] App Weather - 1단계 geolocator 8.2.0 (0) | 2022.04.27 |

